Shrinky Dink Earring Ideas
Shrinky dinks are such a fun project, and did you know that you can even make jewelry out of shrink dinks? I am so excited to share a few different Shrinky Dink earring ideas with you as well as step-by-step instructions on how you can easily make your very own Shrinky Dink earrings with many different design options.
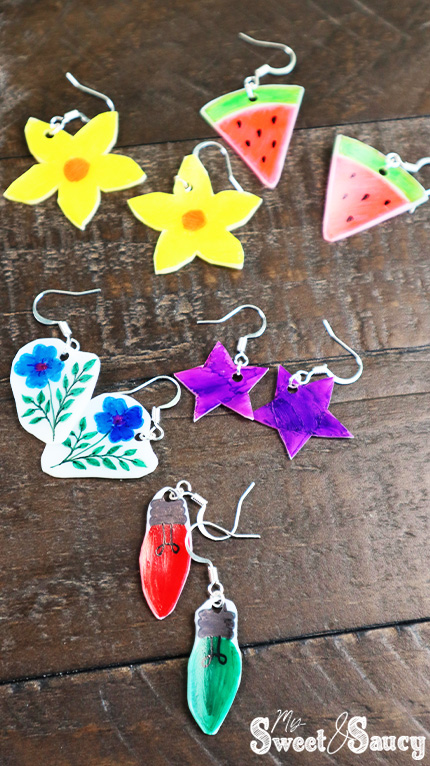
This is such a fun DIY project that kids and adults alike can enjoy making. Shrinking plastic is such a fun thing to watch as it actually shrinks, and see how it turns into this little, tiny piece of plastic.
These shrinking earrings are a fun project for many different occasions or even different gift options. For instance, they make such a fun activity to do at birthday parties, that will get everyone participating. They are also a fun Mother’s Day gift idea, birthday idea, or even Christmas gift idea.
If you’re looking for a special personalized gift to give that special lady in your life, then consider making them their own personalized Shrinky Dink earrings.
Shrinky Dink Crafts
Making your own Shrinky Dink pendants is surprisingly very easy, and they turn out to make the most adorable earrings. Shrinky Dinks are such a fun way to make your own Shrinky Dink earrings, and the best part is you can make anything you want out of the Shrinky Dinks!
Shrinky Dink Earring Tips and Tricks
Where to Buy Shrinky Dink Paper. Most of your local craft stores will carry Shrinky Dink plastic. I tried to find some at my local Walmart, but I ended up picking some up at Hobby Lobby instead. If your local craft store does not carry Shrinky Dink paper, you can also order it online.
Best Results Making Shrinky Dink Jewelry. You are going to have the best results with your Shrinky Dink jewelry when you use a combination of lighter colors and darker colors. Make sure to color the earrings thoroughly before shrinking them that way you will have the best overall color result.
Avoid Sharp Ends. One word of caution, when you are cutting out your finished earring shape, before baking it in the oven, you want to make sure that all of your edges are rounded, and there are no sharp edges on your earrings. You want to avoid having sharp ends so that the earrings do not turn out sharp.
Trace Shapes. If you’re worried about having your Shrinky Dink earrings turn out perfectly, because you might not be great at drawing you don’t have to worry! You can easily trace whatever design or shape you want as your base for your Shrinky Dink earrings. Simply place your Shrinky Dink paper over the design you want to trace, then color it as desired.
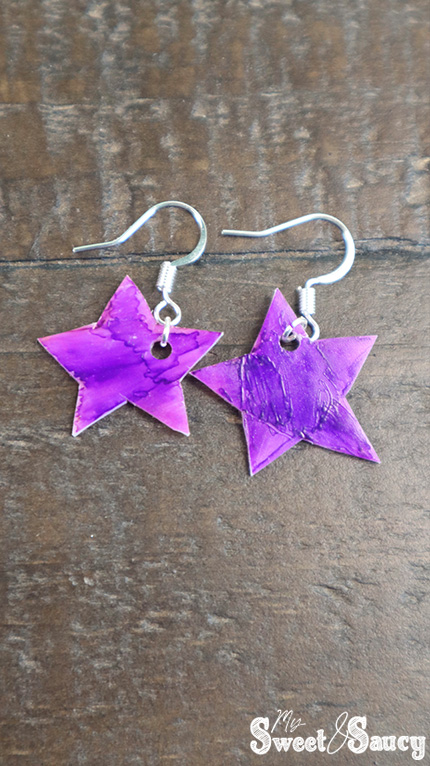
Fun Shrinky Dink Earrings
To make these fun Shrinky Dink earrings, you’ll want to have a few items on hand so that they turn out amazing. Let’s look at the supplies that you will need.
Shrinky Dink Sheets. These plastic sheets are usually found at your local craft store. When you color on this specific type of paper, then bake it in the oven, the plastic shrinks to form adorable earrings.
Hole Puncher. It’s a good idea to have a hole puncher on hand, to make a hole in the Shrinky Dink before cooking it so that you can attach an earring hook.
Earring Hooks. You will want to have one earring hook for each Shrinky Dink that you make.
Jump Ring. Depending on the style of earring hooks that you have, you may also want to have some jump rings, to attach the Shrinky Dink to the earring hook.
Permanent Markers. There are a lot of different coloring methods you can use on your Shrinky Dinks. My personal favorite is to use permanent markers. You can also use acrylic paint, or paint markers if you prefer. Another option is to use colored pencils. You do not want to use washable markers, as the color will likely wipe right off.
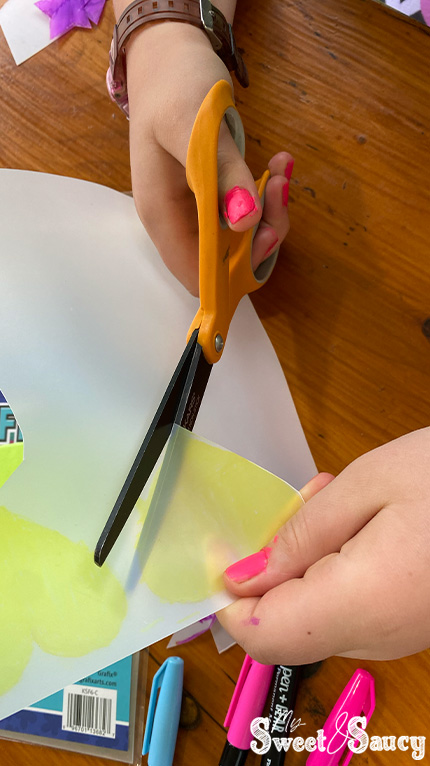
Regular Scissors. You will want to have some regular scissors on hand so that you can cut your earring shapes out of the sheet of Shrinky Dink paper.
Baking Sheet. You will want to use a flat baking sheet, to set your earrings on in the oven. Any type of baking sheet will work.
A Piece of Parchment Paper. Using a piece of parchment paper, to set your earrings on is optional, but it is helpful when baking your Shrinky Dink earrings in the oven.
Oven Mitt. You also want to use an oven mitt, to handle the hot baking sheet.
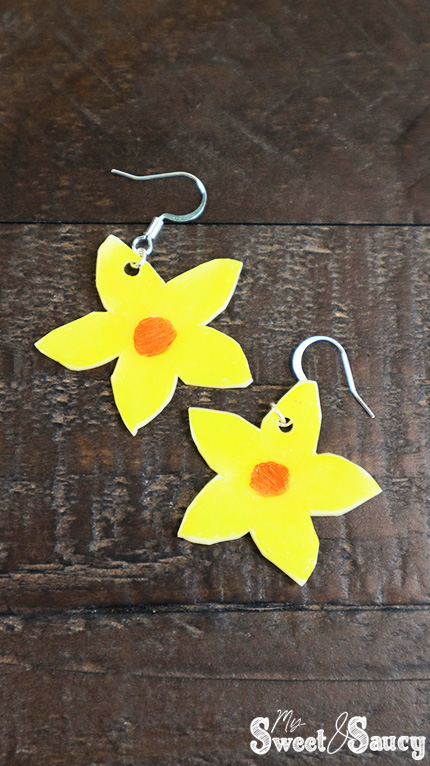
Shrinky Dink Ideas DIY earrings: Step-by-Step Tutorial
Step 1: Make Your Design
First take your shrinky dink paper, with the rough side up, and color your different designs. Keep in mind that the original size of your earrings before they shrink needs to be much larger than intended. On average, your Shrinky Dinks will shrink by 45 to 50% after they have baked.
Step 2: Cut Them Out
When you are done coloring your earrings, cut around the outer edge of your shape, to form the earring shape.
Step 3: Arrange on Baking Sheet
After your earrings have been cut out, place them with the colored side up on a cookie sheet, with spacing between each one.
Step 4: Shrinking Time!
Now the fun part! Preheat the oven according to the heating instructions on your Shrinky Dink package. The Shrinky Dink instructions will tell you what temperature to turn the oven, and how long they need to bake. Typically, it’s between 300°F and 350°F for approximately 2-3 minutes. After they have baked, remove them from the oven and let them cool completely. Tip: You may need to use a spatula to flatten them out, after removing from the oven.
Step 5: Assemble Earrings
After your Shrinky Dink earrings have cooled, you can attach the jump ring and earring hooks. Now you have a fun pair of earrings to enjoy!
Different Ways to Decorate Your Pairs of Earrings
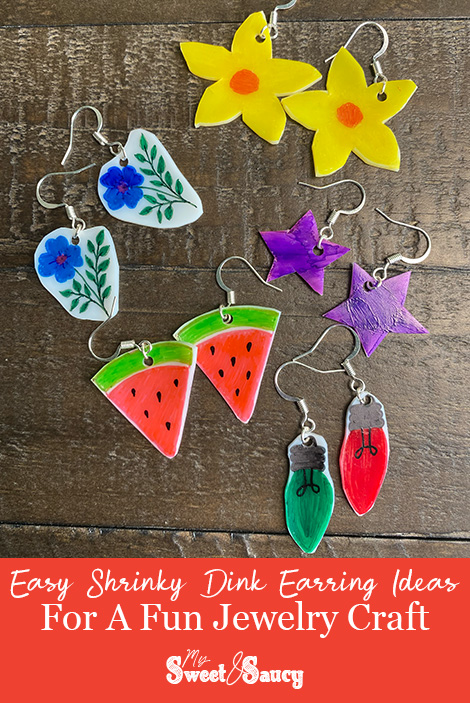
There are so many ways you can make your pairs of earrings. Truly, the sky is the limit when it comes to what you want to draw and create as your Shrinky Dink earrings. Here are a few ideas just to get you started.
- Christmas tree
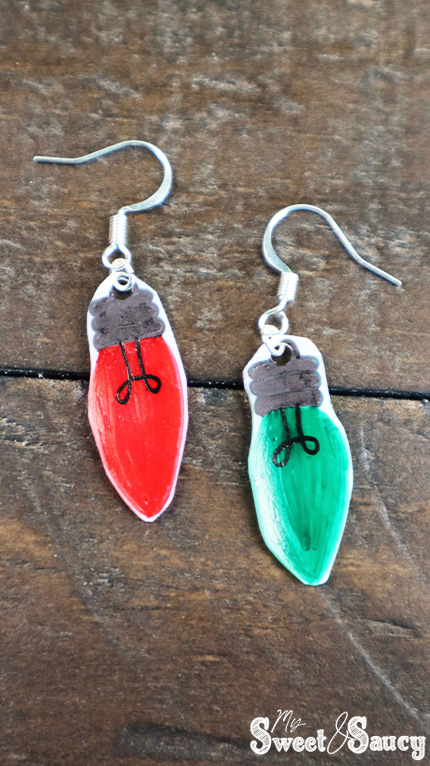
- Christmas light bulbs
- Marimekko flowers
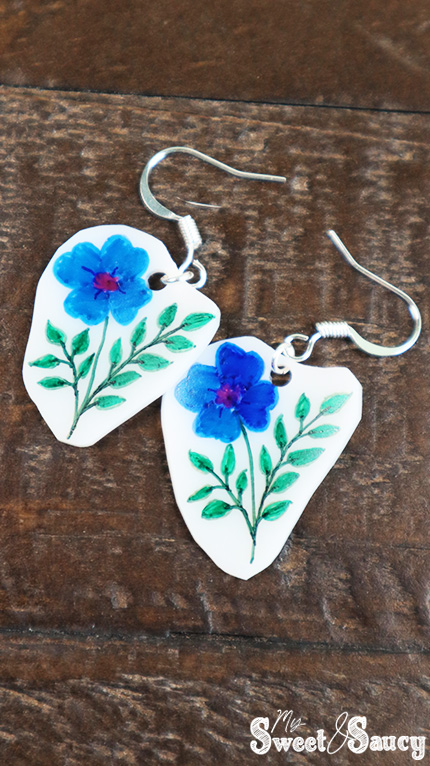
- Any kind of flowers
- Stars
- Hearts
- Pattern designs
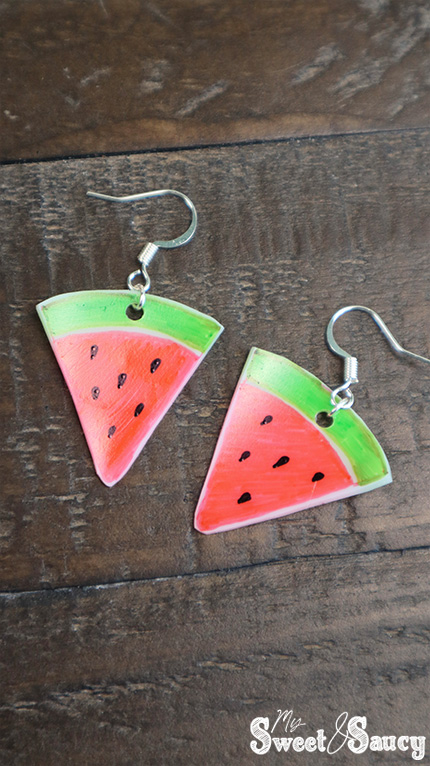
- Watermelon slices
- Avocado
- Animals
- Bumble bee
- Mushrooms
- Butterflies
Alternative Heating Methods
In addition to baking your Shrinky Dinks in the oven, you can also use a toaster oven or heat gun to shrink the plastic paper. You will want to be sure to check out the instructions on your specific package of Shrinky Dinks to make sure that you are following the instructions correctly. Please note that Shrinky Dink should not be microwaved.
Other Ideas for Your Shrinky Dink Pendants
You can make a lot of different types of earrings using your Shrinky Dink pendant. You can also make a Shrinky Dink necklace, or even keychains out of Shrinky Dinks if you prefer. These are fun additions to make with your earrings, or as gifts for those who don’t have their ears pierced.
Free Cool Designs to Get You Started
As I mentioned above, you don’t have to be an expert artist to make fun Shrinky Dink designs for your earrings. You can always print out some of your favorite designs, to trace onto Shrinky Dink paper.
I have included a few printable designs that you can easily print out on your inkjet printer, with these vector graphics. Please note these are for personal use only and should not be used for commercial distribution.
To receive your free download for these traceable shapes, simply enter your email address into the box below and a copy will be sent directly to your inbox.
DIY Shrink Dink Earrings
Making your own Shrinky Dink earrings is so much fun, and makes a fun project for kids and adults alike. There are a few easy steps to follow to make this fun craft project. This is seriously a project that everyone can enjoy doing.
Thank you so much for taking the time to read about these different Shrinky Dink earring ideas, and how to go about making them. I hope that this tutorial has been helpful to you and now you can go start making your own personalized Shrinky Dink earrings!
Like this article? Be sure to follow us online for more like it! Find us on Pinterest, Facebook, Instagram, and YouTube.
PIN for Later!
Check out more fun Craft Ideas!

